I am so excited to say we have finished all the painting outside! Before I post the final after pictures tomorrow..I wanted to give a quick rundown on how I painted the trim, door, and made a few changes that really made all the difference in making our home look like new!
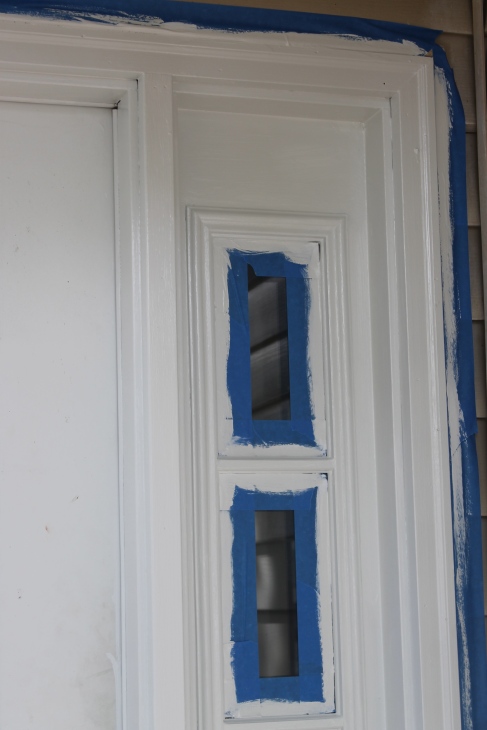
The trim was the same color as the shutters and that was something I really didn’t love and knew if I wanted the door a color I should tone things down around it so we decided on a high gloss white. To prep the wood for a new coat of paint I used a liquid sander/deglosser and scraped off the flaky pieces of pre-existing paint. To get maximum coverage I did two coats of primer and two coats of paint. I used Zinsser primer and Behr paint.
Even after taping off the windows I still had some paint that I had to scrape off but I find using a razor blade to push the edges down into the trim really gives it a clean look.
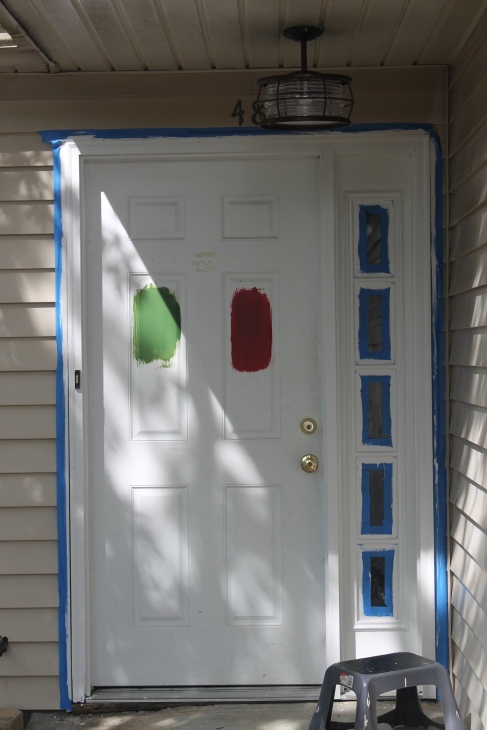
While the paint was drying on the trim I took the opportunity to paint two different test colors on the door..Drake picked the red and I picked green and we let it sit a few days so we could see how it looked during different times of the day.
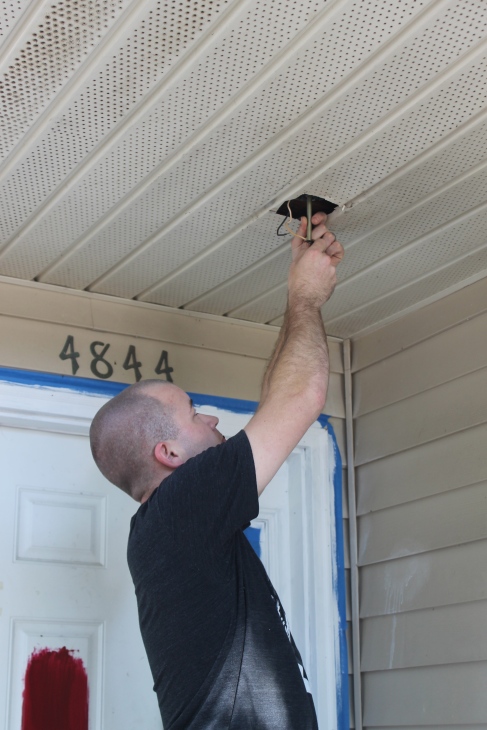
We also took this time to change out our old spiderweb light fixture to a hanging light. I do most of the DIY stuff around the house but leave the electrical to Drake, my husband, better known as Mr. I don’t need directions.
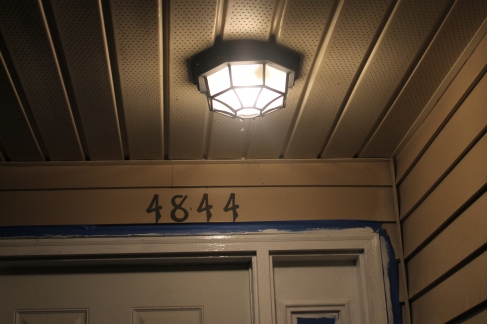
Here is the light we lovingly call the spiderweb.
While I don’t deal with electricity I do know enough to flip the breaker off before starting to install any new lighting! So if anyone is reading this and wants to change out their fixtures please flip the switch off!! 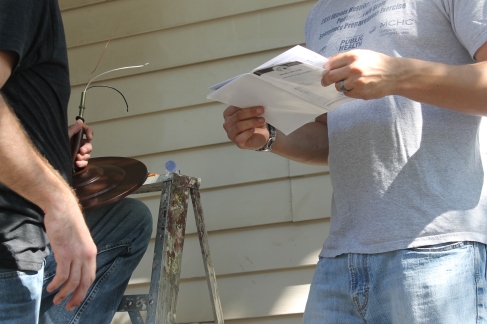
Mr. I don’t need directions ended up having to break them out in the end. 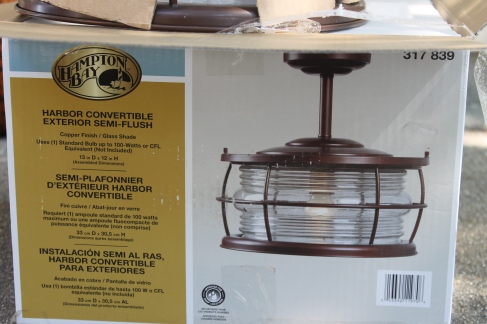
This is the light we chose..I love the mason jar feel of it and think the length adds a nice touch rather than having a fixture flush to the ceiling. You will see this beauty in all her glory hanging in the final post tomorrow!!
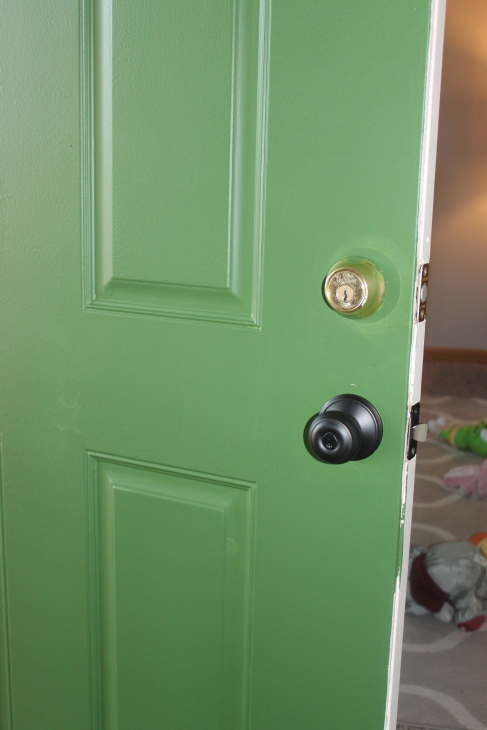
The last thing we chose to do was paint and choose the door color.. after canvasing the neighborhood for days and checking out every door on the street we decided on the green for two reasons: one.. Just about every other door on the street is red and two..because I liked it haha.
My method for painting doors is just about the same as anyones. I used a short handle angled brush to cut in the edging and rolled the large panels. 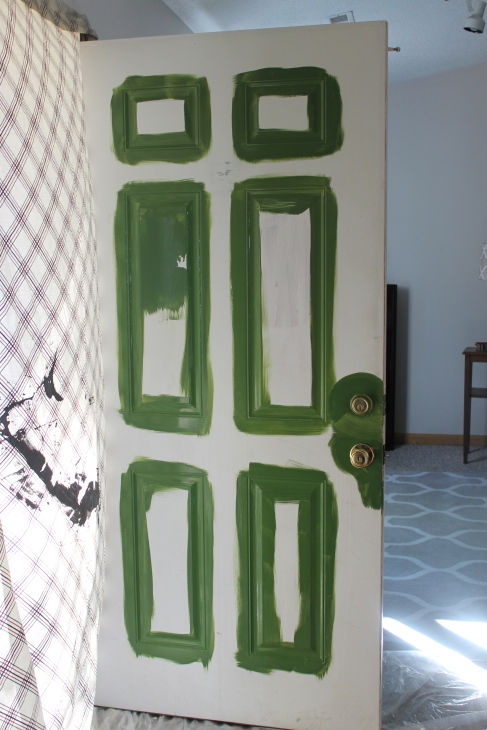
The final thing we did was to change out the gold doorknobs! I debated on just spraying them with Rustoleum in oil rubbed bronze but was worried about it gunking up the key lock.
Here is a sneak preview of the door knob..You will have to check back tomorrow to see the deadbolt and light! So what do yall think so far? Stay tuned the final outcome will blow you away!
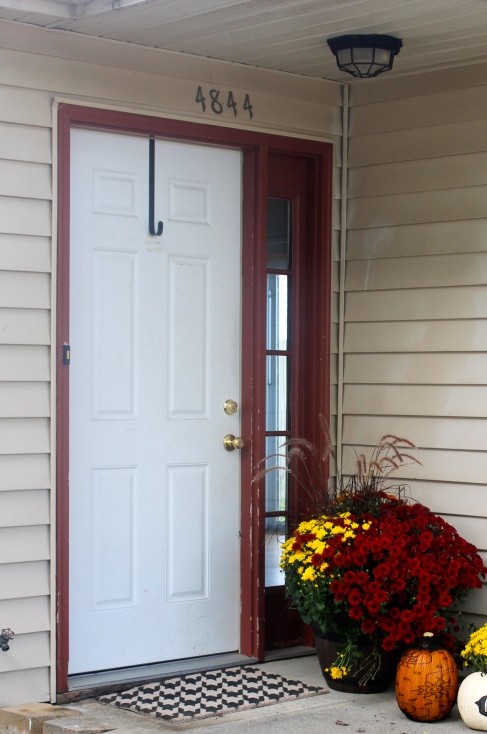
pretty! I love the door knobs! Might have to do that for ours bc the knobs inside look like that… hmm And that green looks like it will be really nice!
Thanks Chelsea! The door knobs make such a difference for a small cost!
Whoop whoop – I love it .the green one looks so much better than the red I picked. We are ready to paint our ack door and you have motivated me.!! Do I paint the white side inside the door ? Biter yet bring me P and ill play with her and you can paint my door 🙂 …so proud of you and in awe of the transformation to the house I first saw in those pictures.
Love the green!
I’m so happy that you decided to do this blog. I love before and after (plus the instructions) photos and posts.
Thank you for following! I am having so much fun putting it all out there